
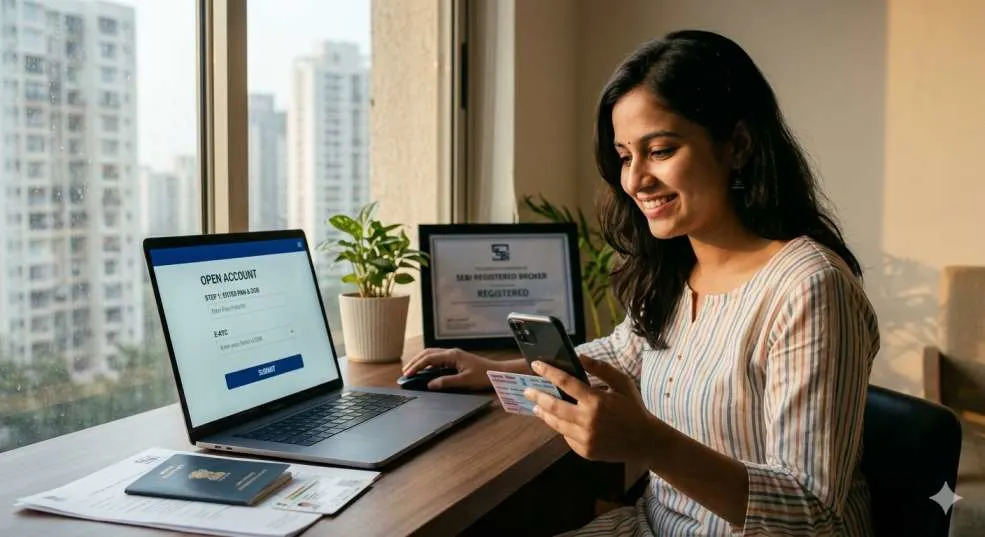
Opening a brokerage account in India is straightforward and essential for stock market investing. Start by selecting a SEBI-registered broker like Zerodha, Groww, Upstox, or Angel One, comparing fees, platforms, and features. Gather required documents: PAN card, Aadhaar, bank proof, and a photo. Complete online KYC via Digilocker or video verification—most brokers offer paperless onboarding in 10-15 minutes.
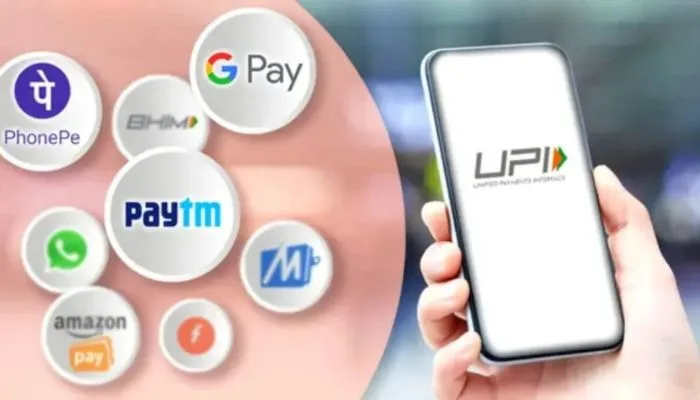
Link your bank account for funds transfer, then activate demat (electronic securities) and trading accounts. Fund via UPI/net banking (minimum â‚ą0-500 for many). Download the broker's app or use the web platform to place orders—start with equity, F&O, or mutual funds. Begin with small investments; use SIPs for beginners. Monitor via portfolio tracker. Costs: brokerage (â‚ą0-20/order), annual maintenance (â‚ą0-500); GST extra. Stay compliant with tax rules on gains
Why You Should Open a Brokerage Account Now
Banks and apps have made it simple to enter the share market. You need two main accounts: a trading account to place buy or sell orders and a demat account to hold your shares in digital form. Without these, you cannot trade on places like NSE or BSE. Full-service brokers like HDFC or ICICI charge more but give advice, while discount ones like Zerodha or Groww keep costs low with zero fees to open. In 2026, most young people pick online options because they save time and money.
You may also read :- Top 10 Discount Brokers in India with Lowest Charges (2026)
Pick the Right Broker for Your Needs
Start by looking at brokers registered with SEBI, the market watchdog. Check their app ratings on the Play Store, brokerage fees per trade, and if they support quick fund transfers. Zerodha works well for beginners with its clean Kite app; Upstox offers free delivery trades; and Angel One has learning videos. Compare at least three on sites like Chittorgarh to see hidden charges. Avoid brokers pushing too many products – pick one that fits your budget and trading style.
Documents You Need to Get Started

Keep these papers handy to avoid delays. A PAN card is a must-have, as it links to your tax records. Aadhaar helps with fast e-KYC through OTP. Bank proof like a cancelled check or statement shows your account number. Add a recent photo and signature scan. For futures trading, a salary slip or ITR works as income proof. Self-attest copies if going offline, but online upload is enough. Keep the bank linked to the same name as the PAN to skip extra checks.
Steps to Open Brokerage Account India
Step 1: Go to Broker Site or App
Download the app of your chosen broker or visit their website. Look for the big "Open Account" button on the home page. It starts the process right away. Many like Groww let you do it fully on mobile without paperwork.
Step 2: Enter Basic Details
Fill in your name, mobile, email, and PAN. System checks if you have prior KYC. Aadhaar pops up for auto-fill if linked. Select account type – individual for most people. Choose segments like equity for shares or F&O if you plan options later.
Step 3: Complete KYC Online
Upload PAN, Aadhaar, and bank proof. A video call verifies your face in 2 minutes—just show originals to the camera. Or use Aadhaar OTP for paperless transactions. Broker sends e-sign request via email. Sign in with Aadhaar or net banking. This meets SEBI rules fully.
Step 4: Add Bank and Sign Agreement
Link your savings bank with IFSC and account number. The broker shows the charges sheet—read the terms on brokerage and taxes. E-sign the deal. Pay any opening fee if charged, though many waive it now.
Step 5: Get Welcome Kit and Activate
Broker emails contract notes and login details in 24-48 hours. Download the client master or CMR list showing your demat number. Add funds via UPI or net banking. Practice on a demo if new. The account goes live once SEBI activates.
Open Trading Account in India Without Agent
Skip agents to save commissions—do it directly on broker apps. No middleman means full control and lower costs. Zerodha's site has a zero-agent flow; just follow the online steps above. Groww and Upstox also offer agent-free opens with chat support. Visit the broker site yourself, use e-KYC, and activate Solo. This way, you learn the system hands-on and avoid pushy sales calls.
Demat Account Opening Procedure Explained
Demat holds shares like a bank holds cash—no physical certificates. It opens with a trading account bundled by most brokers. CDSL or NSDL manages it behind the scenes. During KYC, tick demat option. The same documents work. Once active, shares credit here on Buy. Track in the app portfolio section. Close old demat from another broker if switching—transfer shares free via DIS form.
Stock Broker Account Open in India
Use a laptop for clear uploads if the mobile camera blurs. Check email spam for OTPs. Link primary bank first. Ask the broker chat for help if stuck—they guide live. After opening, set up two-factor login for safety. Start small with Rs 5000 to test. Track your first trade to learn fees. Update KYC yearly as SEBI asks.
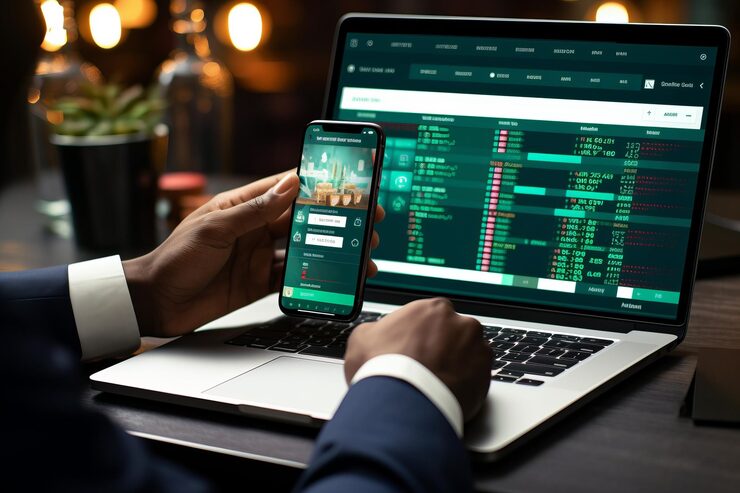
Benefits of an Online Trading Account in India
Trade from your phone anywhere—buy Reliance at 10 am from the bus. Zero paperwork repeats yearly. Apps show live charts and news. UPI instant deposits. Free research tools help pick stocks. Women and NRIs open easily with extra proof. Costs dropped 90% since 2015, making it open to all salaried folks.
Common Mistakes to Avoid

Don't pick a broker just for ads—check user reviews on MouthShut. Avoid multiple accounts early; manage one well. Read fine print on annual fees. Don't trade before learning basics from NSE India's free course. Keep your password secret—use biometrics. If the agent calls, say no and go online.
Conclusion
Now you know the full demat account opening procedure. You know how to open a brokerage account in India step by step. You know what papers you need. You know how to pick a broker. You know how to do the online application. You know about the charges. You know what mistakes to avoid.
The process is very simple today. You do not need to be a big expert. You do not need to go anywhere. You just need your PAN card, your Aadhaar card with linked mobile, and your bank account. That is all.

.webp)
.webp)
